Defining a Data Source
To define a data source, you’ll use the Data Source Wizard. You can launch this
wizard by right-clicking on the Data Sources folder in your new Analysis Services
project. The wizard will walk you through the process of defining a data source
for your cube, including choosing a connection and specifying security credentials
to be used to connect to the data source.
To define a data source for the new cube, follow these steps:
- Right-click on the Data Sources folder in Solution Explorer and select New Data
Source.
- Read the first page of the Data Source Wizard and click Next.
- You
can base a data source on a new or an existing connection. Because you don’t have
any existing connections, click New.
- In the Connection Manager dialog
box, select the server containing your analysis services sample database from the
Server Name combo box.
- Fill in your authentication information.
-
Select the Native OLE DB\SQL Native Client provider (this is the default provider).
-
Select the AdventureWorksDW database.
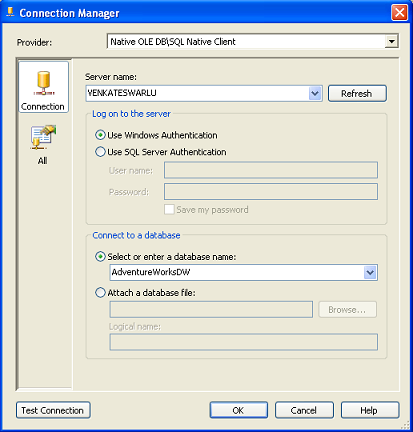
- Click OK to dismiss the Connection Manager dialog box.
- Click Next.
- Select Default impersonation information to use the credentials
you just supplied for the connection and click Next.
- Accept the default
data source name and click Finish.